
There is a quiet pleasure in making sourdough bread at home. It starts with a simple mix of flour and water, grows slowly with the help of a living starter, and turns into a loaf with a crisp crust and a soft, chewy center. The process takes time, but most of that time is spent letting the dough rest and develop its flavor.
This artisan sourdough bread recipe is made with a few basic ingredients and a little patience. It produces a rustic loaf with a golden-brown crust, a gentle tang, and a tender crumb. You can bake it in a Dutch oven or use a suitable covered baking pot to help trap steam and create a crisp crust.
Whether you are new to sourdough or have been baking for years, this recipe is a good way to build a steady routine. Once you learn how your starter behaves and how the dough feels at each stage, baking fresh bread becomes a rewarding part of your day.
Why You Will Love This Artisan Sourdough
The beauty of sourdough is that it does not need commercial yeast. An active sourdough starter provides the natural lift, while the long fermentation gives the dough time to develop its flavor.
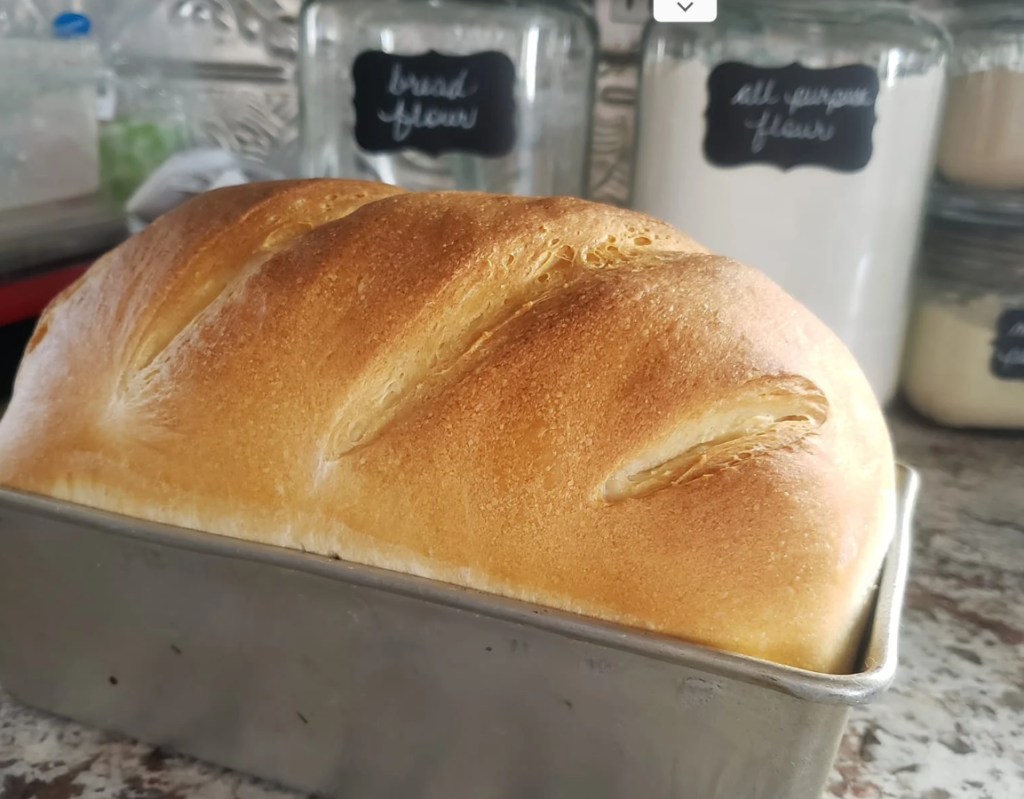
The finished bread has a crisp outside, a soft and chewy middle, and a rich wheat aroma. Its flavor is gently tangy rather than sharp, making it easy to pair with both sweet and savory foods.
This recipe also keeps the ingredient list short. You do not need sugar, butter, or milk to make a good artisan loaf. Flour, water, starter, and salt are enough to create bread with real character.
Ingredients You Will Need
- 500 g bread flour: Bread flour provides the strength needed for a well-shaped loaf. You can replace some of it with whole wheat flour for a deeper, nuttier flavor.
- 350 g water: Room-temperature water works well in most kitchens. The dough will feel soft and slightly sticky.
- 100 g active sourdough starter: Use a starter that has been fed and is bubbly, lively, and near its peak.
- 10 g salt: Salt adds flavor and helps the dough hold its structure.
These amounts give the dough about 70% hydration, which is a manageable starting point for many home bakers. Flour brands, room temperature, and starter consistency can all affect how the dough feels, so pay attention to its texture as you work.
How to Make Artisan Sourdough Bread
Step 1: Make Sure Your Starter Is Ready
Before mixing the dough, check your sourdough starter. It should look bubbly, smell pleasantly tangy, and have risen after feeding. Many starters reach their peak within four to eight hours, depending on temperature and feeding ratio.
A weak or inactive starter may leave you with a dense loaf, even if you follow every other step carefully. If your starter is slow, give it another feeding and wait until it shows clear signs of activity.
Step 2: Mix the Flour and Water
Add the bread flour and water to a large mixing bowl. Stir until no dry flour remains. The mixture will look rough and feel sticky, which is normal.
Cover the bowl and let it rest for 30–45 minutes. This rest, often called an autolyse, allows the flour to absorb the water and makes the dough easier to handle later.
Step 3: Add the Starter and Salt
Add the active sourdough starter and salt to the dough. Use your fingers to pinch and fold the mixture until everything is evenly combined.
At first, the dough may feel slippery or uneven. Keep working it gently until it becomes more uniform. Cover the bowl and let it rest for about 20–30 minutes before beginning the next stage.
Step 4: Build Strength With Stretch and Folds
Over the next two hours, perform three or four sets of stretch and folds, spacing them about 30 minutes apart.
To do this, lift one side of the dough, stretch it gently upward, and fold it over the center. Turn the bowl and repeat on the other sides. Wet hands can help prevent the dough from sticking to your fingers.
Each set helps strengthen the dough without the need for heavy kneading. As the folds progress, the dough should become smoother, more elastic, and better able to hold its shape.
Step 5: Let the Dough Rise
After the final set of folds, cover the bowl and allow the dough to continue fermenting. This stage is called bulk fermentation.
The time varies with the temperature of your kitchen and the strength of your starter. It may take several hours. Look for dough that has grown noticeably, feels airy, and shows bubbles along the sides or surface. A rise of roughly 30–50% can be a useful guide, depending on the dough and conditions.
Do not wait for the dough to double automatically. Overfermentation can make it slack and difficult to shape, while underfermentation can produce a dense loaf.
Step 6: Shape the Loaf
Lightly flour your work surface and turn out the dough. Gently shape it into a round or oval, depending on your proofing basket and baking pot.
Let it rest for 15–20 minutes if it feels tight. Then create a little surface tension by folding and tightening the dough without tearing its outer layer.
Place the shaped loaf seam-side up in a well-floured proofing basket or a bowl lined with a floured kitchen towel.
Step 7: Refrigerate for Better Flavor
Cover the dough and place it in the refrigerator for 8–16 hours. This slow, cold proof helps develop flavor and makes the loaf easier to score before baking.
If you are short on time, you can proof it at room temperature instead, until it looks puffy and responds slowly to a gentle finger press. The exact timing depends on the dough’s temperature and fermentation progress.
Step 8: Score and Bake
Preheat your oven to 475°F (245°C) with a Dutch oven or suitable covered baking pot inside for about 30–45 minutes. Handle the hot pot with care.
Turn the cold dough onto a piece of baking parchment. Use a sharp bread lame or suitable scoring blade to make one confident slash across the top, about ¼–½ inch deep.
Carefully lower the dough into the hot pot, cover it, and bake for 20 minutes. Remove the lid, reduce the oven temperature to 450°F (232°C), and bake for another 20–25 minutes, until the crust is deep golden brown.
The loaf should feel light and sound hollow when tapped. For a more precise check, the center is usually around 205–210°F (96–99°C).
Step 9: Cool Before Cutting
Transfer the bread to a wire rack and let it cool for at least two hours before slicing. This is an important step, even when the warm loaf smells irresistible.
The inside continues to set as it cools. Cutting too soon can leave the crumb sticky or compressed, so give the bread enough time to finish its work.
Tips for Better Sourdough Bread
Use an active starter. A lively starter gives the dough the lift it needs for a well-risen loaf.
Watch the dough, not just the clock. Fermentation changes with room temperature, starter strength, and flour type.
Handle the dough gently. Stretch and folds build strength while helping preserve the air that develops during fermentation.
Do not skip preheating. A thoroughly heated baking pot helps the loaf rise in the oven and develop a firm crust.
Let the loaf cool completely. A little patience makes a real difference in the texture of the finished bread.
How to Serve and Store Sourdough
This bread is lovely with salted butter, olive oil, or a little jam. Its sturdy crumb also works well for avocado toast, grilled cheese, hearty sandwiches, and slices served alongside soup.
Once completely cool, store the loaf in a paper bag or bread box for a crisp crust, or use a bread bag if you prefer a softer exterior. For longer storage, slice the bread and freeze it in a sealed freezer-safe bag for up to three months. Toast the slices straight from the freezer whenever you need them.
Frequently Asked Questions
Why is my sourdough bread dense?
A weak starter, insufficient fermentation, or poor dough development can all cause a dense loaf. Make sure the starter is active and the dough has become airy before shaping.
Can I use all-purpose flour?
Yes. All-purpose flour can work, although the dough may be softer and the loaf may not hold quite the same shape. You may need to adjust the water slightly.
Why did my loaf spread instead of rising upward?
This can happen when the dough is overfermented, too wet for the flour being used, or not shaped tightly enough. Strengthening the dough and watching fermentation more closely can help.
Do I need a Dutch oven?
A Dutch oven makes it easier to trap steam, but a covered oven-safe baking pot can also work. Always check that your cookware is rated for the oven temperature.
A Simple Loaf Worth the Wait
Artisan sourdough bread asks for time, but it rewards you with a loaf that feels special in the simplest way. The crisp crust, soft center, and gentle sourdough flavor make it a welcome addition to breakfast, lunch, or dinner.
With a healthy starter, a few careful folds, and a little attention to fermentation, you can bake beautiful bread right in your own kitchen. Each loaf teaches you something new, and that is part of the pleasure of sourdough: simple ingredients, steady practice, and fresh bread worth sharing.