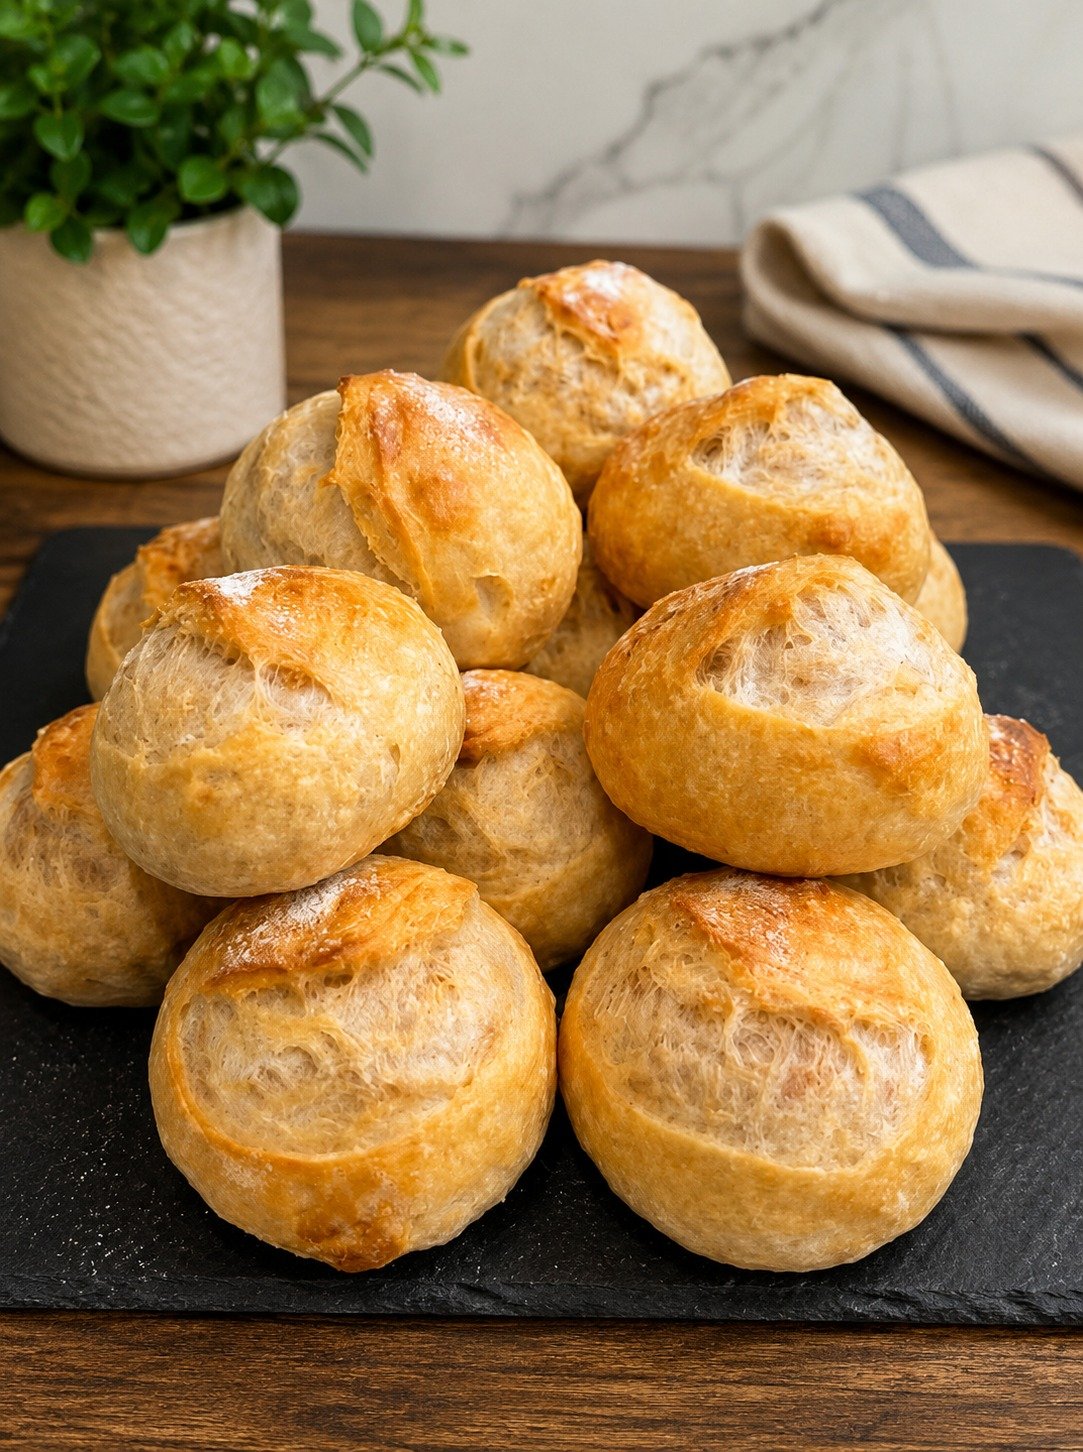
There is nothing quite so soul-satisfying, it seems, as plopping a pan of Round 1 mini sourdough loaves out of the oven. All the character of a large artisan loaf—crusty, airy interior, and intense sourdough flavor—but in the ideal portion size.
Whether you’re entertaining friends, arranging a charcuterie board, prepping food gifts, or simply want an excuse to bake for the weekend—the convenience of batching these little loaves brings all the bakery feels without adding more stress to your baking game.
The best part? You aren’t preparing a distinct dough. Instead of one standard batch of sourdough, consider mini boules that look like they belong to a fancier homemade baguette and are all over the place.
Why You Should Bake These Mini Sourdough Loaves
Crowd-Pleasing Presentation
These little boules instantly makes any table more beautiful. Place one at each place setting, group them on a grazing board, or carve them out to use as individual soup bowls and dip cups.
Smaller Portions, Less Waste
Not everyone wants a huge loaf sitting on the kitchen counter. Mini loaves means sourdough for fresh bread with no leftovers.
More Opportunities To Work On Your Technique
Since one batch means multiple loaves, you get a lot of practice shaping and building tension in a single bake.
Thoughtful Homemade Gifts
A few mini loaves freshly baked and served with whipped butter, fruit preserves or herbed honey is the type of gift that seems handcrafted, homemade, intimate — a real keepsake.
Ingredients You’ll Need
Active Sourdough Starter
You want to use a lively and recently fed starter that is at its peak activity. Which adds up to a stronger starter means better rise, texture and flavor.
Bread Flour
More protein will help in building strength and contributes to a nice open crumb.
Water
Warm water, in fact slightly warm to room-temperature water, works great. In cooler kitchens you can use warmer water to get a little faster fermentation.
Salt
Crucial for the process of fermentation, flavor development and dough strength.
How to Prepare for Sourdough Bread in Mini Loaf Form
Step 1: Mix Your Dough
Make your favorite sourdough dough, just like you would prepare it normally. Combine the starter, water, flour and salt until you have a formula dough.
Let it rest and then start your stretch-and-folds.
Step 2: Build Strength
During the initial fermentation period, do a few rounds of stretch and folds. This builds gluten structure, which will help keep the loaves in shape later.
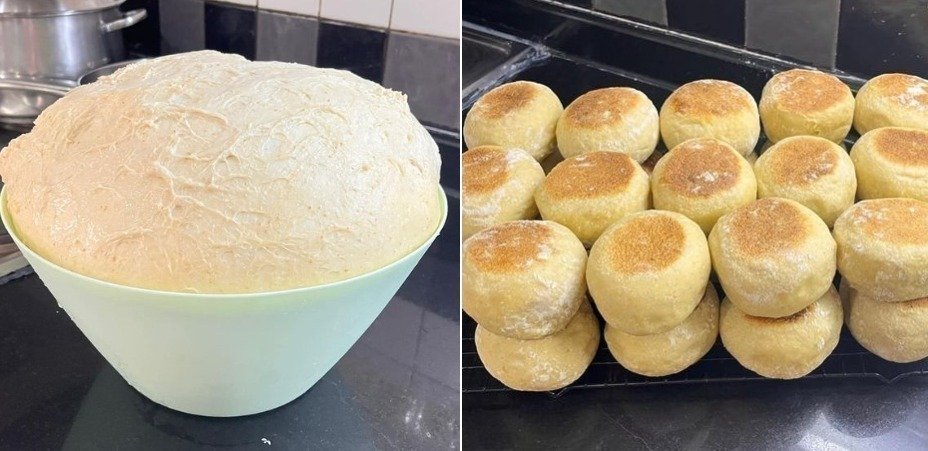
Step 3: Bulk Fermentation
Allow the dough to proof until visibly puffy and approximately doubles in size. That timing depends on your kitchen temperature and strength of the starter.
These mini loaves begin with correctly fermented dough.
Step 4: Divide the Dough
Plop the dough out onto a work surface and divide into 4 to 6 equal pieces.
Each piece will be formed into its own mini artisanal loaf.
Step 5: Shape With Purpose
This step is game changer.
Round each piece into a tight ball providing good surface tension When we think of stretching the outer layer around the dough, we can visualize wrapping a present.
The tension helps create a dramatic oven spring and bakery-style shape.
Step 6: Final Proof
Put all of the loaves, seam side up, in a proofing container.
Anything that you have that is small, like little bowls, measuring cups, muffin tins or small proofing baskets will do great.
Cover and refrigerate for a cold fermentation time. Even just a couple of hours will enhance flavor, while resting overnight develops complexity.
Baking Day
Preheat your oven to 450°F (230°C) with a Dutch oven inside.
When ready to bake:
- Transfer each loaf onto parchment paper.
- Score the surface with a sharp blade.
- Carefully place the loaves into the hot Dutch oven.
- Cover and bake for 30 minutes.
- Remove the lid and continue baking for 10–15 minutes until deeply golden.
The result is a crisp crust, beautiful expansion, and incredible aroma.
Allow the loaves to cool completely before slicing. Cutting too early can leave the interior gummy.
Best Containers for Proofing Mini Loaves
You don’t need specialty equipment.
Excellent options include:
- Small cereal bowls
- One-cup measuring cups
- Stoneware ramekins
- Muffin tins
- Mini bannetons
Whichever container you choose, dust generously with rice flour or semolina to prevent sticking.
A well-floured container makes transferring the dough effortless.
Creative Ways to Serve Mini Sourdough Loaves
These little loaves are surprisingly versatile.
Individual Bread Bowls
Hollow out the center and fill with soup, chowder, spinach dip, or cheese fondue.
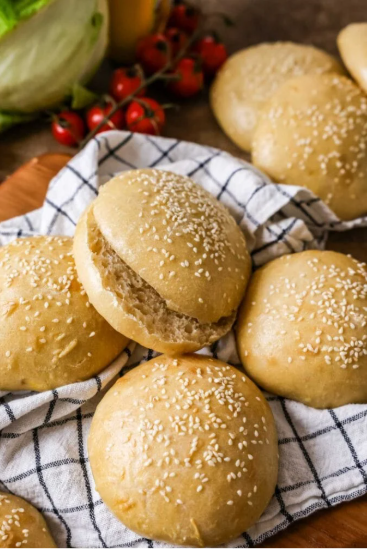
Gourmet Sliders
Slice horizontally and use as rustic buns for burgers, pulled chicken, or sandwiches.
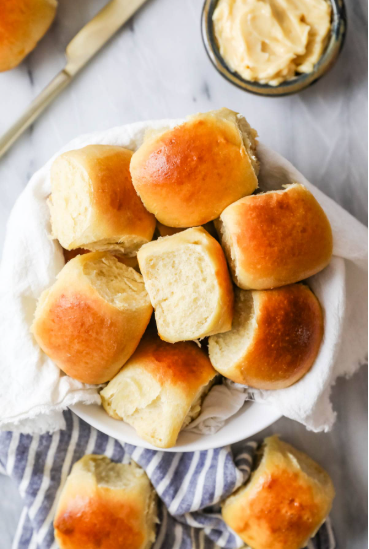
Dinner Roll Alternative
Serve alongside holiday meals instead of traditional rolls.
Charcuterie Boards
Their miniature size makes them perfect for sharing boards loaded with cheeses, meats, and spreads.
Homemade Gift Boxes
Wrap a few loaves in parchment paper and pair with homemade jam or cultured butter.
Troubleshooting Mini Sourdough Loaves
Loaves Spread Instead of Rising
This usually points to weak shaping tension or incorrect proofing. Focus on creating a tighter dough ball during shaping.
Tight or Dense Interior
Most often caused by under-fermentation or a sluggish starter. Give the dough more time to rise before shaping.
Uneven Color
Hot spots inside the oven can create patchy browning. Rotate the Dutch oven during the final baking stage if needed.
Flat Oven Spring
Weak gluten development or over-proofing are the most common causes. Make sure your dough feels strong and elastic before dividing.
Frequently Asked Questions
Do mini sourdough loaves require shorter baking times?
Yes. Their smaller size means they bake faster than traditional artisan loaves while still developing excellent crust and flavor.
Can I add mix-ins?
Absolutely. Cheese, roasted garlic, herbs, dried fruit, olives, and nuts all work beautifully in mini loaves.
Do I need special mini proofing baskets?
Not at all. Small household bowls and muffin tins work surprisingly well.
What is the ideal size?
Most bakers find that 100–150 grams of dough per loaf creates the perfect balance between appearance, texture, and serving size.
Final Thoughts
Mini sourdough loaves prove that great bread doesn’t have to be oversized to make an impression. They’re charming, practical, and incredibly versatile. Whether you’re serving guests, sharpening your bread-making skills, or creating memorable homemade gifts, these miniature artisan loaves deliver all the flavor and craftsmanship of traditional sourdough in a compact, crowd-pleasing form.